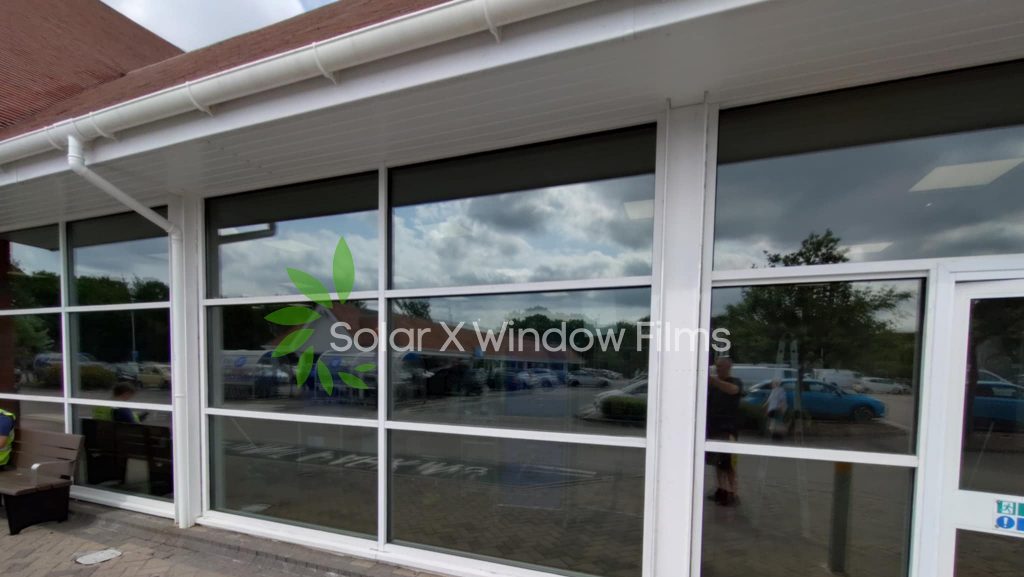
Deciding to get your car windows tinted is one of the best choices you can make for both style and protection. Not only does window tinting give your car a sleek, upgraded look, but it also offers practical benefits like shielding you and your passengers from harmful UV rays, reducing heat, and adding a layer of safety in case of accidents. However, before you jump into booking an appointment, it’s important to do a bit of preparation. Window tinting is not something you want to get done in a hurry or without the right knowledge—because once the film is installed, removing it is far more difficult than applying it. That’s why preparing both yourself and your vehicle ahead of time can make all the difference in getting a smooth, long-lasting result.
Be Mindful of the Tinting Law
Before thinking about which film to choose or where to get the job done, you should first check the window tinting laws in your area. In the UK, these laws are taken seriously and are enforced to ensure road safety. The legal requirements differ depending on when your vehicle was first registered. If your vehicle was first used on or after April 1, 1985, then your front windscreen must allow at least 75% of light to pass through, while your front side windows must let at least 70% of light in. For vehicles used before this date, both the front windscreen and the front side windows must allow at least 70% of light through. Ignoring these laws could get you in legal trouble, cause your vehicle to fail its MOT, or even result in fines. So, knowing and following the law is an important first step.
Know What to Expect When It Comes to Cost
It’s easy to assume window tinting is a quick, inexpensive job, but it actually requires skill, time, and precision. The overall cost can vary based on the size of your vehicle, the type of film you select, how many windows you want tinted, and which tinting company you choose. Cheaper isn’t always better—going for a low-cost option might result in bubbling, fading, or peeling over time. These issues not only ruin the look of your vehicle but can also reduce the effectiveness of the tint. A professional job might be a bit more expensive, but it ensures durability and a much cleaner finish. It’s better to invest a little more upfront than to deal with reinstallation later.
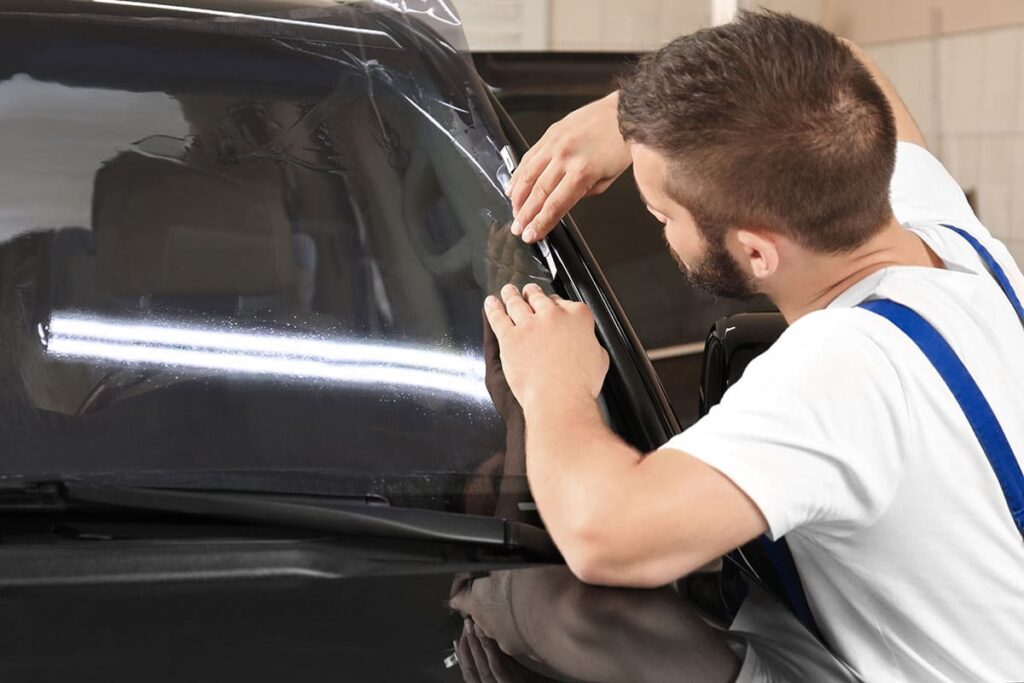
Choose a Trusted and Experienced Tinting Professional
Since car tinting has become more popular in recent years, many tinting shops have opened up—but not all offer the same quality of work. Because tinting requires attention to detail and steady hands, it’s important to choose a company with a good reputation and plenty of experience. Ideally, the business should have been around for a few years and have consistent, positive feedback from customers. Customer service is another sign of a reliable shop—good tint companies take the time to explain your options clearly and are happy to answer your questions. They often offer a warranty and follow up even after the job is done, which is a good indication of professionalism and pride in their work.
Choose The High Quality Tint Films
Once you’re familiar with the legal limits for window tinting, the next step is to choose the right film. This decision is more important than it might seem. At first glance, cheap and high-quality window films can look similar. But over time, low-quality films begin to show their weaknesses—they may turn purple, start to fade, bubble up, or peel at the edges. This can ruin the look of your car and even reduce visibility. On the other hand, premium films are made to last, keeping their colour, performance, and appearance intact for years. Choosing a high-quality film ensures you get the full benefits of tinting without early wear and tear.
Prep Your Vehicle Properly for a Smooth Tinting Process
Before the actual tinting day arrives, it’s a good idea to make sure your car is clean and ready. While many people overlook this step, having clean windows—both inside and out—makes a big difference in how well the film adheres to the glass. Using a simple solution of warm water and a few drops of baby shampoo or dishwashing liquid, you can gently clean the glass. After spraying the solution, you can use a clean razor blade to carefully remove any grime or sticker residue. Just make sure not to scratch the glass while doing this. Once cleaned, dry the surface with a microfiber cloth. It also helps to remove anything near the windows, like sunshades, hanging decorations, or child seats, so the installer can work without obstacles.
Final Thoughts
Getting your car windows tinted is a smart move for many reasons—comfort, safety, and appearance. But for the best results, preparation is key. From understanding the legal requirements to choosing the right installer and preparing your car, each step helps ensure that the finished tint job looks great and lasts a long time. Don’t rush the process or skip any of these important details. A little effort now means you’ll enjoy a cleaner, cooler, and more stylish ride for years to come.